
 Docker Compose部署Nexus
# Docker Compose部署Nexus
# 概述
Nexus 是一个强大的仓库管理器,极大地简化了内部仓库的维护和外部仓库的访问。
2016 年 4 月 6 日 Nexus 3.0 版本发布,相较 2.x 版本有了很大的改变:
- 对低层代码进行了大规模重构,提升性能,增加可扩展性以及改善用户体验。
- 升级界面,极大的简化了用户界面的操作和管理。
- 提供新的安装包,让部署更加简单。
- 增加对 Docker, NeGet, npm, Bower 的支持。
- 提供新的管理接口,以及增强对自动任务的管理。
简单来说,Nexus是一个Maven私服。
# 基于Docker安装Nexus
使用 Docker 来安装和运行 Nexus,docker-compose.yml 配置如下:
version: '3.1'
services:
  nexus:
    restart: always
    image: sonatype/nexus3
    container_name: nexus
    ports:
      - 8081:8081
    volumes:
      - /usr/local/docker/nexus/data:/nexus-data
赋予数据卷目录可读可写的权限,并启动:
docker@docker-saas:/usr/local/docker/nexus$ sudo chmod 777 /usr/local/docker/nexus/data
docker@docker-saas:/usr/local/docker/nexus$ docker-compose up -d
Creating network "nexus_default" with the default driver
Pulling nexus (sonatype/nexus3:)...
...
Creating nexus ... done
如果发现服务一直在尝试重启或者访问不到管理页面,可以查看容器日志docker logs -f containerId或前台运行(docker-compose up),根据反馈的日志错去处理。
注意,该服务官方建议2G内存以上。
# 安装后工作
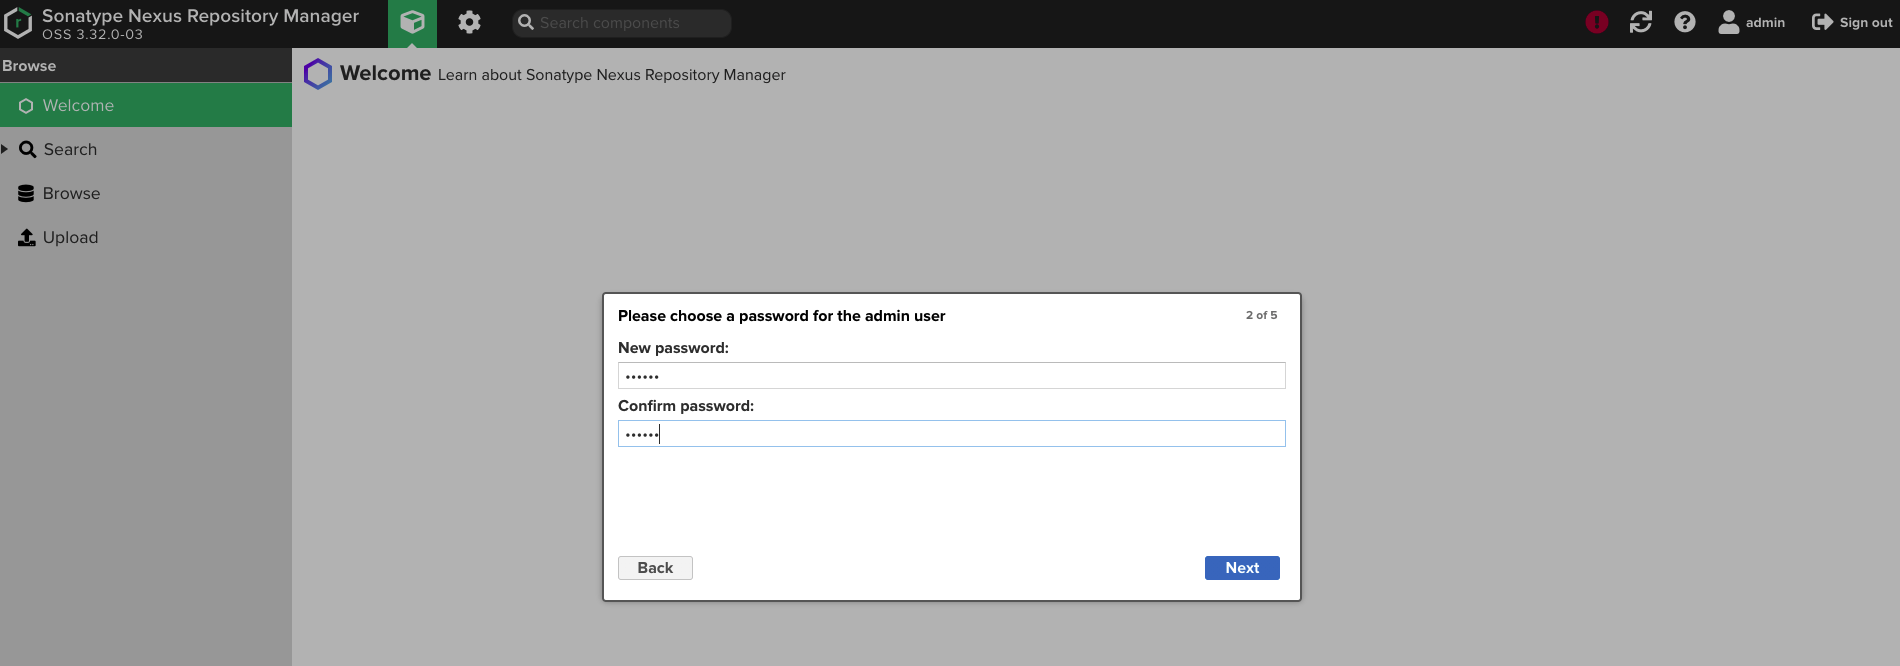
访问管理页面(http://ip:port/,根据自己实际情况访问),登录控制台。
管理员用户名:admin,默认密码在:/nexus-data/admin.password。
初次登陆会要求重新设置密码,并进行一些基础配置,大家跟着引导配置即可。
点击齿轮按钮,可以对Nexus进行更详细的配置,建议大家去看看熟悉。例如定期清理、代理仓库的配置、仓库组等的概念。
- 在设置的System->Tasks,Nexus提供了一些定时任务模版,例如Delete SNAPSHOT Task。
# Maven仓库概述
# 代理仓库
代理仓库(Proxy Repository),可以理解为代理仓库,如:
- maven-central
- nuget.org-proxy
在nexus的这两个仓库都设置了代理,在设置可以找到他们分别指向 https://repo1.maven.org/maven2/ 和 https://api.nuget.org/v3/index.json。
版本策略(Version Policy):
- Release: 正式版本
- Snapshot: 快照版本
- Mixed: 混合模式
布局策略(Layout Policy):
- Strict:严格
- Permissive:宽松
# 宿主仓库
宿主仓库(Hosted Repository),即存储本地上传的组件和资源的,如:
- maven-releases
- maven-snapshots
- nuget-hosted
部署策略(Deployment Policy):
- Allow Redeploy:允许重新部署
- Disable Redeploy:禁止重新部署
- Read-Only:只读
# 仓库组
仓库组(Repository Group),通常包含了多个代理仓库和宿主仓库,方便管理统一管理jar包。
在项目中只要引入仓库组就可以下载到代理仓库和宿主仓库中的包,如:
- maven-public
- nuget-group
一般我们都是引入maven-public仓库组,因为它包含了maven-central、maven-releases、maven-snapshots三个仓库。
# 在项目中使用Maven私服
使用maven前须知Release 版本与 Snapshot 版本定义区别:
Release: 1.0.0/1.0.0-RELEASE
Snapshot: 1.0.0-SNAPSHOT
- 在项目
pom.xml中设置的版本号添加SNAPSHOT标识的都会发布为SNAPSHOT版本,没有SNAPSHOT标识的都会发布为RELEASE版本。 SNAPSHOT版本会自动加一个时间作为标识,如:1.0.0-SNAPSHOT发布后为变成1.0.0-SNAPSHOT-20180522.123456-1.jar
# 方式一:把私服作为中央仓库的镜像
在Maven的settings.xml中添加如下配置
<mirror>
  <id>myNexus</id><!-- 镜像唯一标识 -->
  <mirrorOf>central</mirrorOf><!-- 镜像远程仓库id -->
  <name>Nexus 私服</name><!-- 镜像名称,主要是用于说明镜像,便于阅读 -->
  <url>http://192.168.99.101:8081/repository/maven-public</url><!-- 私服地址 -->
</mirror>
*注意,如果 Maven 同时配置私服和阿里云镜像,阿里云配置的 mirrorOf 不能是 , 会导致私服不起作用,应该设置为 central 可以解决大部分包的加速,又可以和私服并存。
# 方式二:项目配置私服
在 项目的pom.xml 中添加如下代码,原理是覆盖了超级pom中远程仓库的配置,意味着每个要使用私服的项目,需要重复配置覆盖才能使用到私服,此外,如果在构建部署到时候无法拉取自定义的parent依赖,所以这种方法不推荐,更好的解决方法是在settings.xml中配置远程仓库的地址。
<repositories>
    <repository>
        <id>nexus</id>
        <name>Nexus Repository</name>
        <url>http://192.168.99.101:8081/repository/maven-public/</url>
        <snapshots>
            <enabled>true</enabled>
        </snapshots>
        <releases>
            <enabled>true</enabled>
        </releases>
    </repository>
</repositories>
<pluginRepositories>
    <pluginRepository>
        <id>nexus</id>
        <name>Nexus Plugin Repository</name>
        <url>http://192.168.99.101:8081/repository/maven-public/</url>
        <snapshots>
            <enabled>true</enabled>
        </snapshots>
        <releases>
            <enabled>true</enabled>
        </releases>
    </pluginRepository>
</pluginRepositories>
# 方式三:settings.xml中配置私服
该方法是解决方式二的问题,在Maven的settings.xml进行如下配置,即将远程仓库和插件的仓库的地址定义在profile标签中:
<profiles>
  <profile>
      <id>nexusProfile</id>

      <activation>
        <jdk>1.8</jdk>
      </activation>

      <repositories>
        <repository>
          <id>nexus-releases</id>
          <name>Nexus Repository</name>
          <url>http://192.168.99.101:8081/repository/maven-public/</url>
          <snapshots>
              <enabled>true</enabled>
          </snapshots>
          <releases>
              <enabled>true</enabled>
          </releases>
        </repository>
      </repositories>
      <pluginRepositories>
        <pluginRepository>
          <id>nexus-snapshots</id>
          <name>Nexus Plugin Repository</name>
          <url>http://192.168.99.101:8081/repository/maven-public/</url>
          <snapshots>
              <enabled>true</enabled>
          </snapshots>
          <releases>
              <enabled>true</enabled>
          </releases>
        </pluginRepository>
      </pluginRepositories>
    </profile>
</profiles>
然后需要启用当前配置的profile。启用的方式为:
<activeProfiles>
  <activeProfile>nexusProfile</activeProfile>
</activeProfiles>
# 部署到私服
在 项目的pom.xml 中添加如下代码:
<distributionManagement>
  <repository>
    <id>nexus-releases</id>
    <name>Nexus Release Repository</name>
    <url>http://192.168.99.101:8081/repository/maven-releases/</url>
  </repository>
  <snapshotRepository>
    <id>nexus-snapshots</id>
    <name>Nexus Snapshot Repository</name>
    <url>http://192.168.99.101:8081/repository/maven-snapshots/</url>
  </snapshotRepository>
</distributionManagement>
部署到仓库Maven命令:
mvn deploy
注意事项:
- ID 名称必须要与
settings.xml中 Servers 配置的 ID 名称保持一致。 - 项目版本号中有
SNAPSHOT标识的,会发布到 Nexus Snapshots Repository, 否则发布到 Nexus Release Repository,并根据 ID 去匹配授权账号。
# 上传第三方 JAR 包
Nexus 3.0 不支持页面上传,可使用 maven 命令:
# 如第三方JAR包:aliyun-sdk-oss-2.2.3.jar
mvn deploy:deploy-file
  -DgroupId=com.aliyun.oss
  -DartifactId=aliyun-sdk-oss
  -Dversion=2.2.3
  -Dpackaging=jar
  -Dfile=D:\aliyun-sdk-oss-2.2.3.jar
  -Durl=http://192.168.99.101:8081/repository/maven-3rd/
  -DrepositoryId=nexus-releases
注意事项:
- 建议在上传第三方 JAR 包时,创建单独的第三方 JAR 包管理仓库,便于管理以及维护。(maven-3rd)
-DrepositoryId=nexus-releases对应的是settings.xml中 Servers 配置的 ID 名称。(授权)
# 配置认证信息
如果nexus关闭了匿名访问,也就是需要用户密码才能拉取jar包,那么需要在maven的setting.xml文件添加认证信息。例如配置的仓库id为:nexus-releases或nexus-snapshots,那么要在 Maven settings.xml 的servers 节点下添加 Nexus 私服认证信息
<server>
  <id>nexus-releases</id>
  <username>admin</username>
  <password>123456</password>
</server>

<server>
  <id>nexus-snapshots</id>
  <username>admin</username>
  <password>123456</password>
</server>